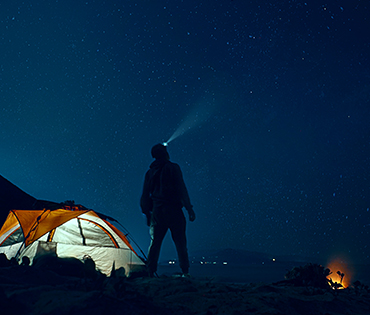
The Northern Lights, or aurora borealis, are a natural phenomenon that lights up the night sky in shades of green, purple, and pink. Capturing the Northern Lights on camera can be challenging, but with a few key techniques, you’ll be able to take stunning photos of this magical display.
Choose the Right Location and Time
To photograph the Northern Lights, head to places with minimal light pollution. Locations in northern regions like Norway, Iceland, and Canada are ideal, with winter being the best season for clear skies. Check the aurora forecast to increase your chances of a successful photo shoot.Use a Tripod and Manual Settings
A tripod is essential for capturing the Northern Lights, as it prevents any camera shake during long exposures. Set your camera to manual mode with a low aperture (f/2.8 or lower) and adjust your ISO to between 800 and 3200. Start with a shutter speed of 10-25 seconds and experiment based on the brightness of the aurora.Experiment with Composition and Foreground
To make your photos more dynamic, include interesting foreground elements such as trees, mountains, or water. This adds depth to the photo and makes the aurora stand out even more. Experiment with different angles and compositions to capture the beauty of the lights and the landscape.With patience and practice, photographing the Northern Lights becomes a rewarding experience that captures the magic of the Arctic skies.

